PostgreSQL
PostgreSQL Create Table
Create a PostgreSQL table with SQL, define columns, and verify the result in pgAdmin 4.
Connect to the database
Once you are connected to the database, you can write SQL statements in the
Query Tool. The example below creates a table named products.
Create a table
Run the following SQL statement:
CREATE TABLE products (
  name VARCHAR(255),
  model VARCHAR(255),
  year INT
);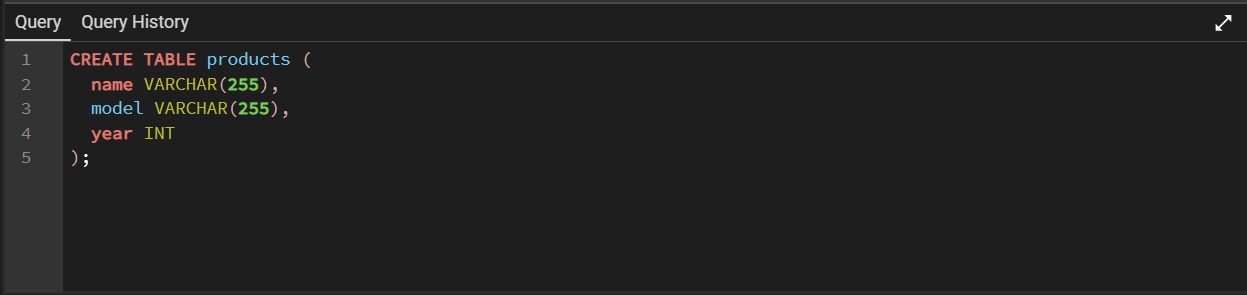
The statement creates an empty products table with three fields:
name, model, and year. Execute the statement
with the run button or by pressing F5.

SQL statement explained
Every column needs a data type. The VARCHAR(255) type stores text
with up to 255 characters, which is suitable for the product name and model.
The INT type stores whole numbers, which fits the product year.
In production tables, also consider adding a primary key, NOT NULL
constraints, and suitable indexes. For example, an application table often
uses an identity or sequence-backed numeric identifier.
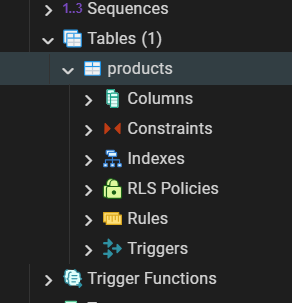
Display the table
Use a SELECT statement to read the table:
SELECT * FROM products;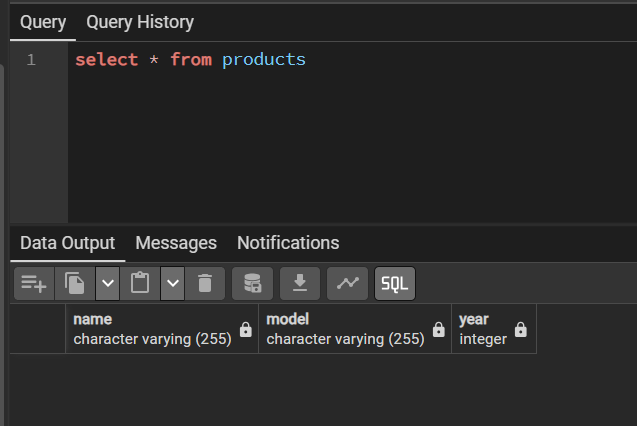
INSERT, change rows with
UPDATE, and remove rows with DELETE. Keep schema changes
in version-controlled migration scripts for application projects.
Further Reading
Continue learning with these related tutorials:
- PostgreSQL Introduction
- PostgreSQL pgAdmin 4
- PostgreSQL Create Table
- PostgreSQL Insert Data
- PostgreSQL Select Data
- PostgreSQL ADD COLUMN
- PostgreSQL UPDATE
- PostgreSQL ALTER COLUMN
- PostgreSQL DROP COLUMN
- PostgreSQL DELETE
- PostgreSQL DROP TABLE
- PostgreSQL Operators
- PostgreSQL SELECT
- PostgreSQL SELECT DISTINCT
- PostgreSQL WHERE
- PostgreSQL ORDER BY
- PostgreSQL LIMIT
- PostgreSQL MIN and MAX
- PostgreSQL COUNT
- PostgreSQL SUM
- PostgreSQL AVG
- PostgreSQL LIKE
- PostgreSQL IN
- PostgreSQL BETWEEN
- PostgreSQL AS
- PostgreSQL Joins
- PostgreSQL INNER JOIN
- PostgreSQL LEFT JOIN
- PostgreSQL RIGHT JOIN
- PostgreSQL FULL JOIN
- PostgreSQL CROSS JOIN
- PostgreSQL UNION
- PostgreSQL GROUP BY
- PostgreSQL HAVING
- PostgreSQL EXISTS
- PostgreSQL ANY
- PostgreSQL ALL
- PostgreSQL CASE
Continue learning